# The Project
Now, your project workshop-pipeline contains a YAML file azure-pipelines.yml. This file describes how our project will be build.
Let’s a take a look at it:
# Starter pipeline
# Start with a minimal pipeline that you can customize to build and deploy your code.
# Add steps that build, run tests, deploy, and more:
# https://aka.ms/yaml

trigger:
- master

pool:
 vmImage: 'ubuntu-latest'

steps:
- script: echo Hello, world!
  displayName: 'Run a one-line script'

- script: |
   echo Add other tasks to build, test, and deploy your project.
   echo See https://aka.ms/yaml
 displayName: 'Run a multi-line script'
Your Pipeline will be triggered by listening on master branch changes. It will be run on a Microsoft-hosted agent with an Ubuntu Operating System. According to the documentation, Microsoft-hosted agent are Standard_DS2_v2 machine on Microsoft Azure. Finally, the pipeline has 1 stage, 1 job containing two script tasks.
TIP
Microsoft-hosted agents are Standard_DS2_v2 machines with 2 vCPU, 7G RAM and 14G of SSD disk capabilities
The project is divided into two applications. The backend directory contains a simple Java / Maven application and the frontend directory contains a simple Express Js application.
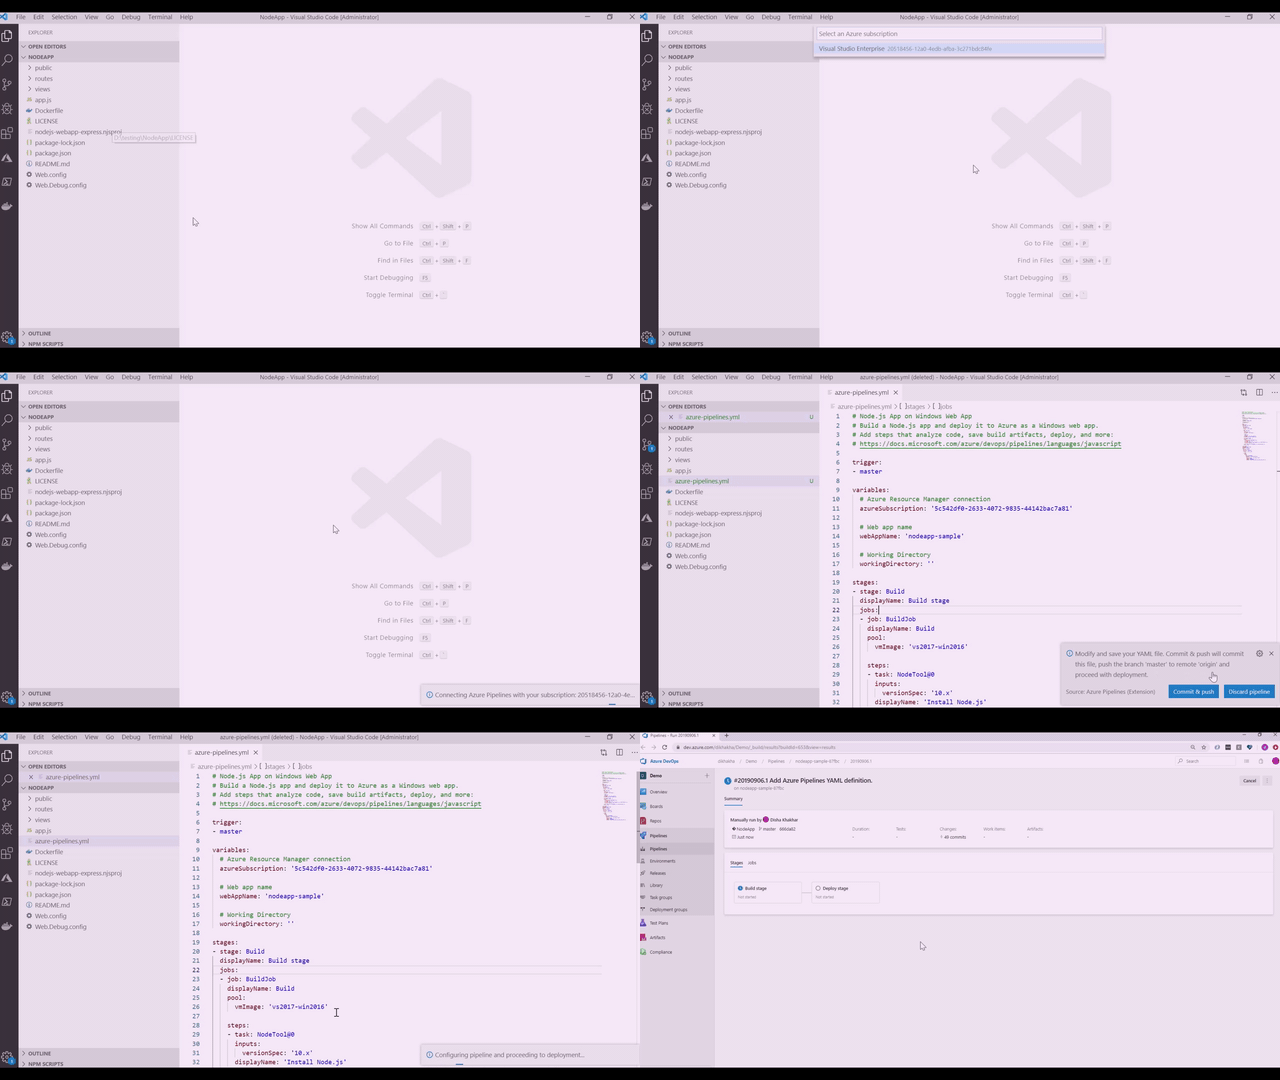
As we are going to edit azure-pipelines.yml, a simple text editor could be enough. However, there is an extension Azure Pipelines for Visual Studio Code. It adds syntax highlighting and autocompletion for Azure Pipelines YAML.

TIP
If you encounter a syntax error while editing the YAML file, you can refer to the YAML schema reference
Git branch
starter-pipeline
