# Getting Started
Azure Pipelines is part of Azure Devops. It lets you implement continuous integration and continuous delivery (CI/CD).
During this workshop, you will learn how to create a pipeline to build a Maven / Java application and a NodeJs application. You will also discover Azure Pipelines features, such as pipeline caching, variables, parameters and templating.
At each steps of this workshop, you can found the solution in a Git branch.
Git branch
Here's the Git branch!
# Anatomy of a pipeline

A pipeline is composed of stages, each stage is run sequentially. In this diagram, Stage 2 will be executed right after Stage 1. A stage is composed of jobs. For example, Stage 1 has 2 jobs : Job A and B. A job is executed on an agent. An agent is a machine, it can be compared to a Jenkins slave. With Azure, an agent can be a Microsoft-hosted or self-hosted agent. We will talk more about agents later. Inside a stage, each job can be executed simultaneously or sequentially. Finally, a job is composed of steps. A step can be a Microsoft task or script and each step is run sequentially.
If you want to go deeper with those concepts, you can browse the official documentation of pipeline concepts and agent.
# Pricing & Pool Agent
Azure Pipelines is free to use on a public project. . On a private project, you can run up to 1,800 minutes (30 hours) of pipeline jobs for free every month.
You can have a look at all the available types of agent here. Each of them come with a set of installed softwares. During this workshop, we are going to use ubuntu-latest.
# Setup
First of all, you have to fork this repository to your Github account
https://github.com/vgallet/workshop-pipeline

Then, in order to start with Azure Pipelines you need to create a Microsoft account if you haven’t one.
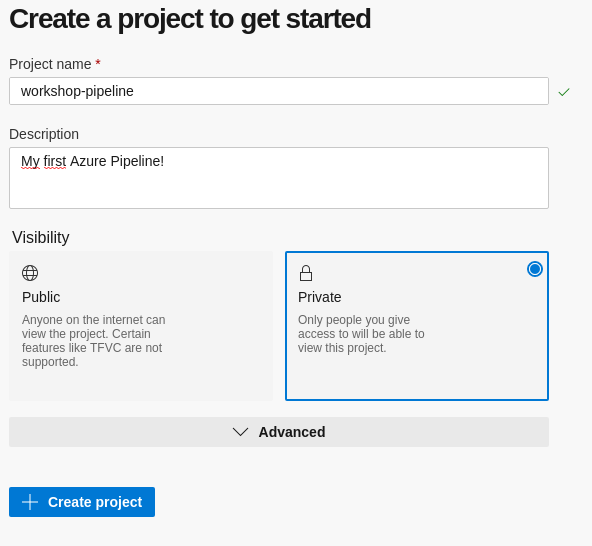
Once you are logged in, you have to create a project

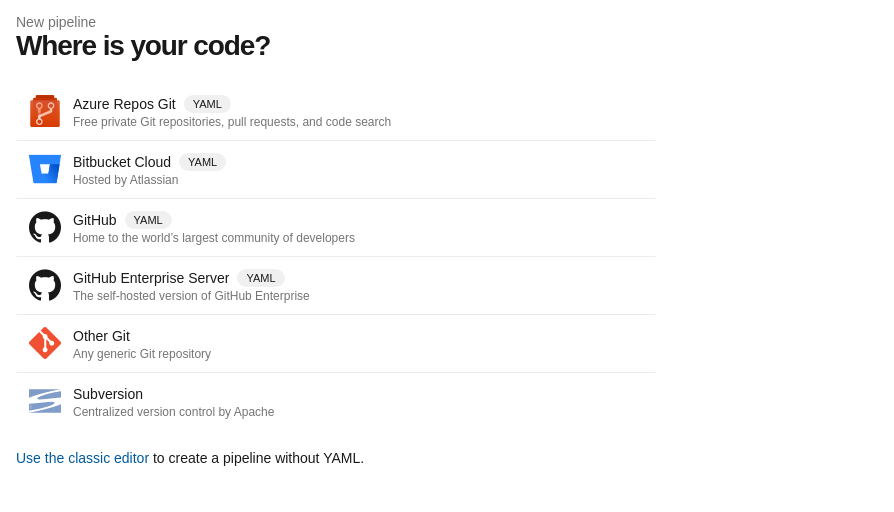
Next, you have to select your repository in Github

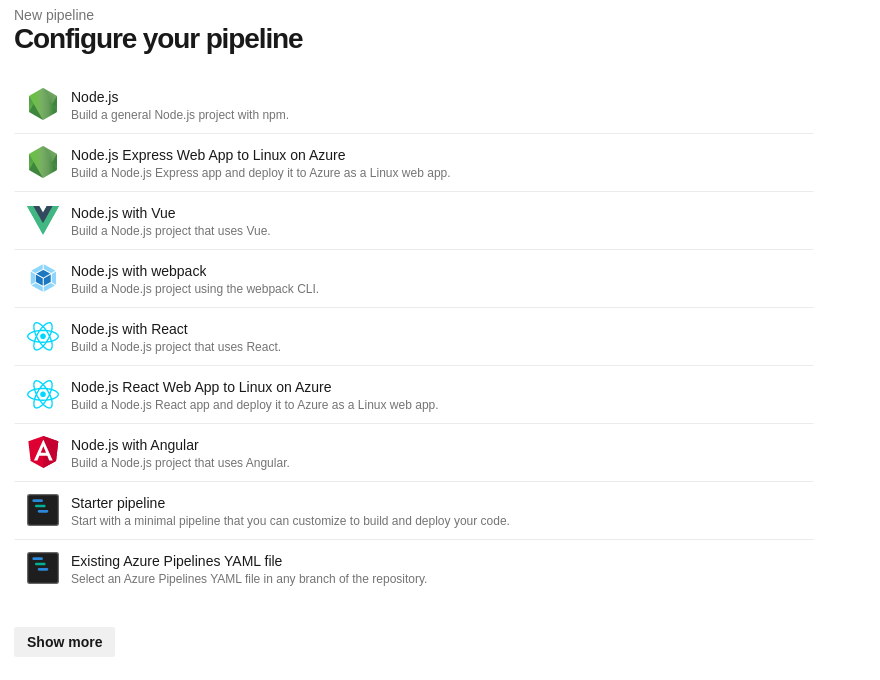
And finally select “starter pipeline”. It will automatically create a starter pipeline file inside your repository.

